Panopto
| Site: | Moodle at EMU |
| Course: | Moodle FAQs |
| Book: | Panopto |
| Printed by: | Guest user |
| Date: | Saturday, January 10, 2026, 2:52 PM |
Description
- Recording with Panopto
- Recording with Zoom
- Editing a video
- Copying and Moving Videos
- Table of Contents
- Permissions
- Embedding Videos
1. Recording with Panopto
Panoto is a video recording, editing and hosting tool for use with Moodle. All Panopto resources, including the client download, can be accessed at emu.hosted.panopto.com.
Video recording: Panopto will allow you to record, using an external feed, a PowerPoint presentation, or your Desktop or Desktops if you have more than one. These can all be recorded individually or any combination of them simultaniously
Video editing: Panopto will allow you to easily edit your video feed. cutting out mistakes and restarts is fairly easy and allows you to stop back up and restart anywhere within your presentation. In addition you can add contents markers which allow students to jump to important sections within the video, and you can add quizzes, within the video itself.
Video hosting: Panopto will store videos created through the recorder. You can also upload videos created with other video recorders to Panapto. this hosting serves two important functions for EMU. First because the videos reside on Panopto's servers, not Moodle's, the videos stored there will not use the limited amount of storage space allowed for each class. Second Panopto handles view permissions for all videos uploaded to it. This means that people outside of EMU cannot view videos uploaded there, ensuring student and teacher privacy and safeguarding EMU proprietary information. These permissions also are on a class by class basis, so videos uploaded to one class are not necessarily viewable by another class without editing the permissions or importing the video within Moodle to the second class. We will cover both of these topics in these FAQs
Download and install Panopto Recorder
Locate the Panopto course block on the right drawer of any EMU class. Select the correct installer package for PC or Mac from the bottom of the block.
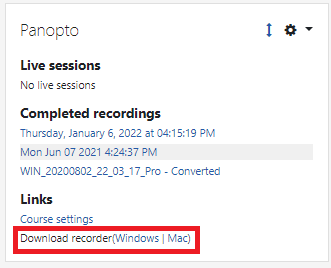
Follow the prompts to install the recorder.
When opening the app for the first time if you are prompted for the host enter: emu.hosted.panopto.com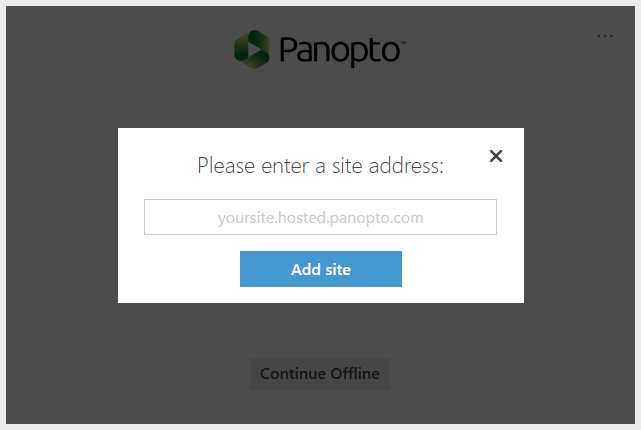
You will be asked to sign in through Moodle. Once you sign in, you will be able to start using the recorder client.
Using the Panopto Client
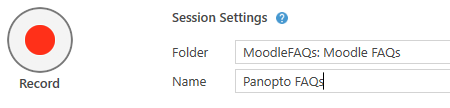
IMPORTANT: You must select the folder associated with the class the video will be used for.
If you need the video for more than one class use the import feature in Moodle to import the video do not embed Panopto videos directly from another class folder, your students will not be able to view them.
Select your folder from the drop down menu. This list should contain all classes you are a participant in. If you do not see the folder you are looking for begin typing the course name into the folder field.
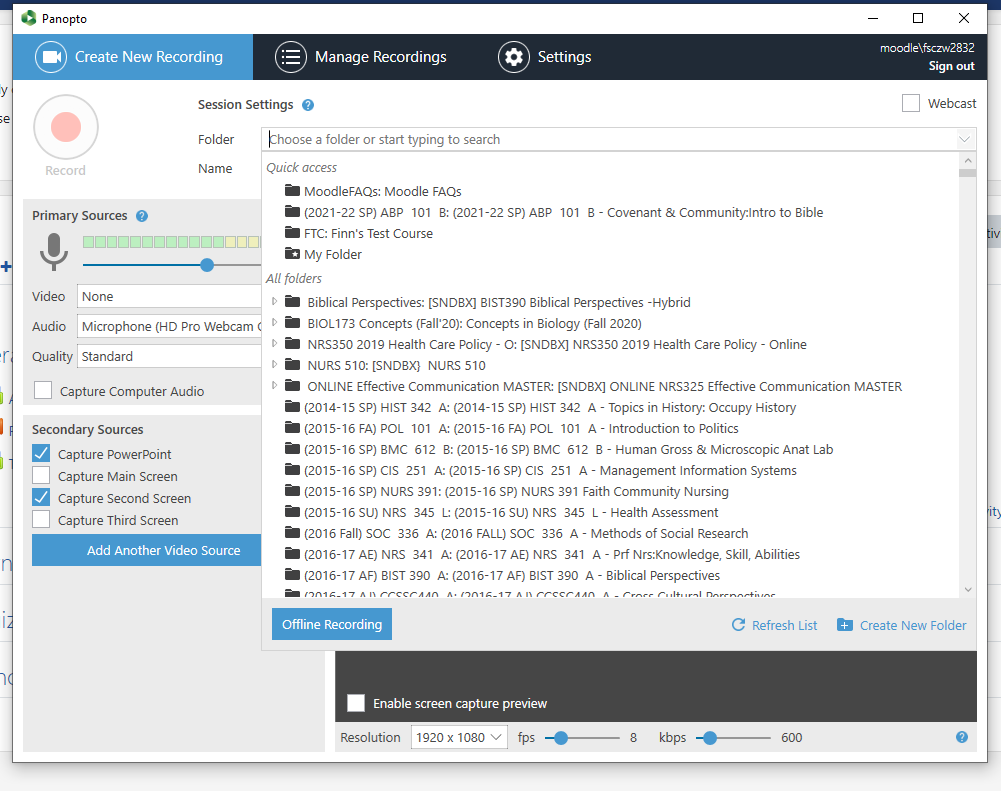
Name your video
If you don't it will default to date and time.
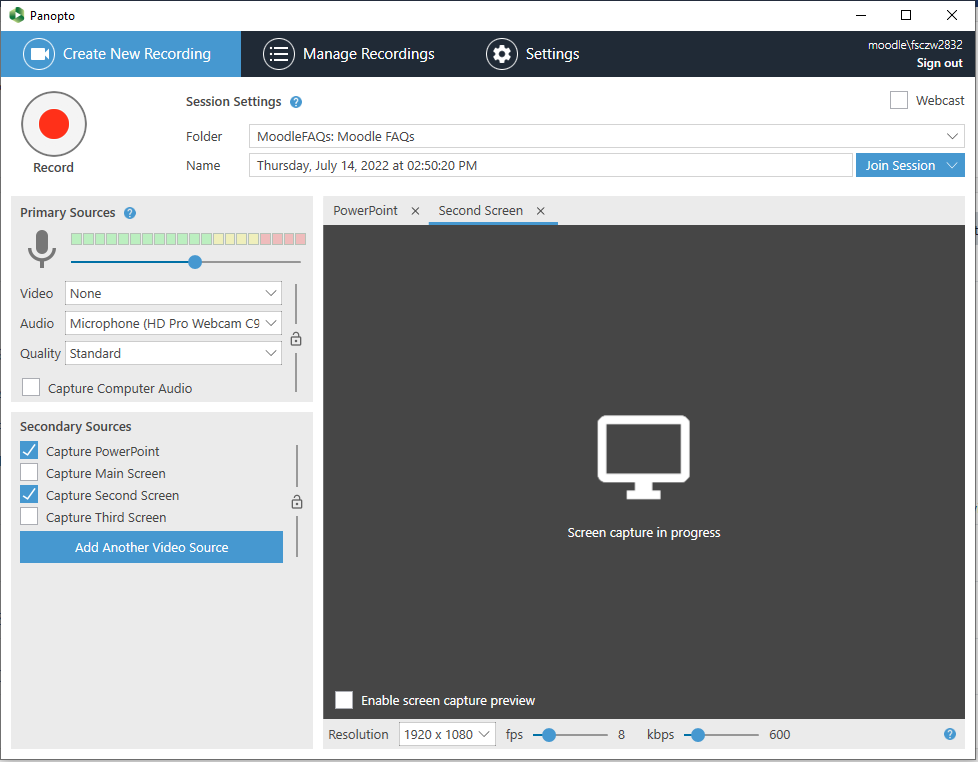
Video feed selection
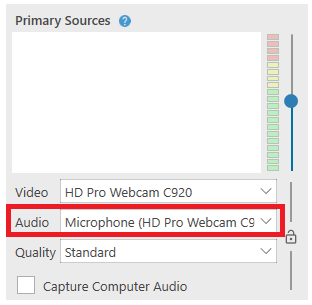
If you want to record an external video feed (i.e. a webcam) select the video camera from the drop down menu.
If you do not want to use the external feed and only want to capture your screen or a slide show select "None"

Select Audio Source
Select Audio source from the drop down menu. You may have several options or none. Most laptops have a built in microphone, some webcams also have built in microphones. You will usually get your best results using a headset with a microphone. Chose the one that will work best for you.
Capturing a slide show or your desktop
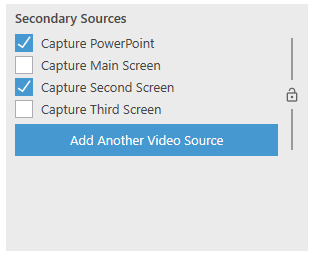
Select the option for the feed you wish to record. You can record more than one feed. If you do the viewer will have the option of which feed to look. This can be very useful if you have more than one screen and you direct the viewer to the one you wish them to refer to.
PowerPoint - will only record a PowerPoint that is in play mode
Capture main screen - will capture everything on your screen this could be a slide show or navigating the web or any other action. This is the most common choice for this
Note: Capture second screen will only be an option if you have more than one monitor hooked up to your computer.
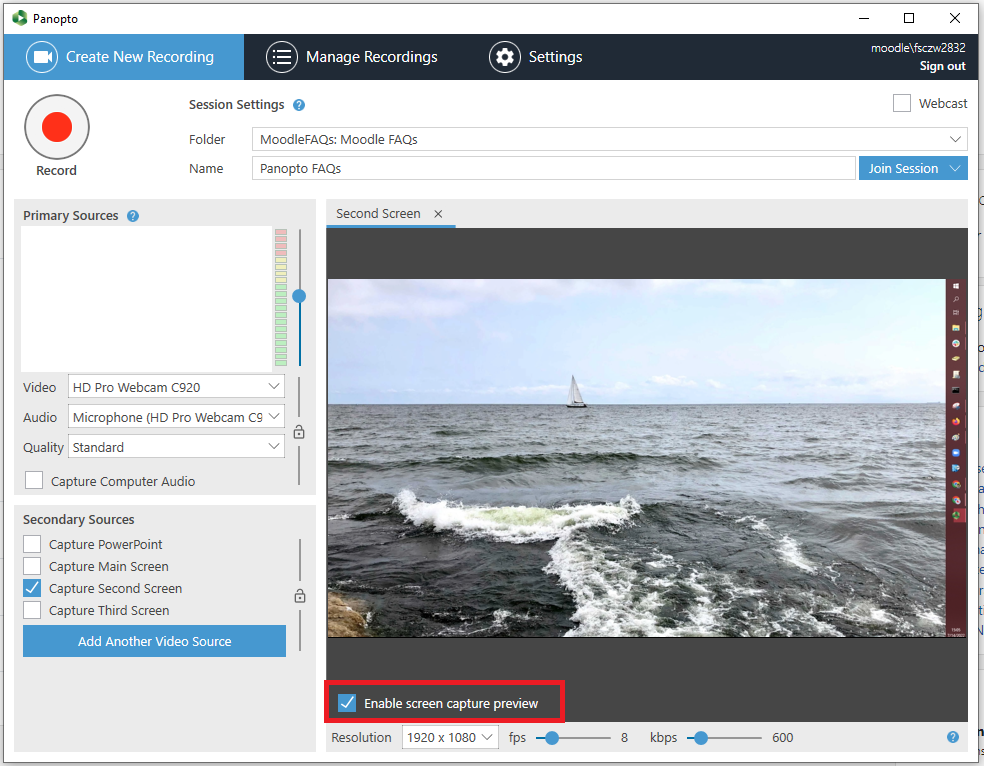
If you wish to preview what will be captured check the box for "Enable screen capture preview"
Recording
To begin use the red record button. One you press this you will be recording and the button will change to a stop and pause button

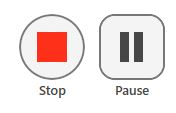
or you can alternately use
f8 - Record
f9 - Pause
f10- Stop
These hotkey controls will work with Panopto running in the background.
Post-production
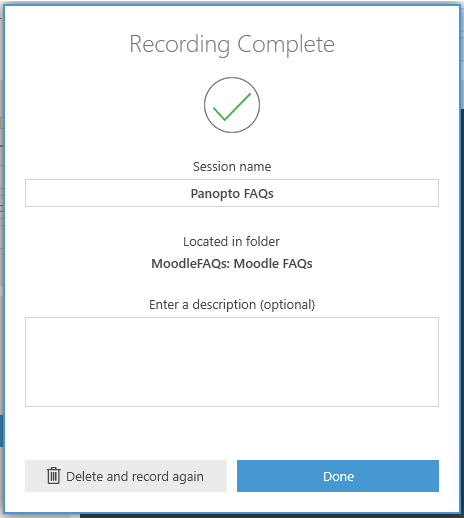
Once you are done recording and have hit stop or f10, you will have the option to delete the recording or upload the recording to Panopto's hosting service, where it can be edited or added to your class.
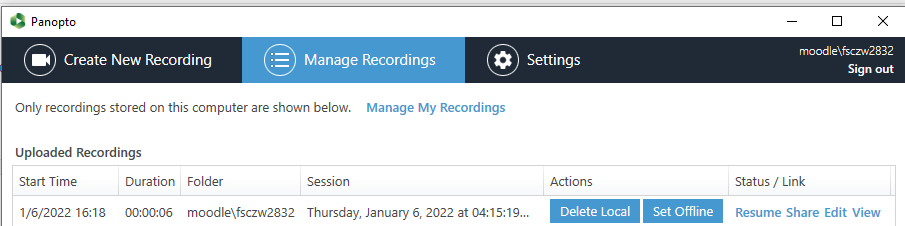
Once uploaded the Panopto recorder will switch to the "Manage Recordings" tab![]()
It may take a few minutes for your video to process

Once it has you will have the options to:
Resume: This allows you to return to the Panopto recorder and add to the end of the recording.
Share: Takes you to the permission setting for the video. As long as your video is in the correct class folder and you do not want to share a video outside of that class you will not need to use this. We will talk a little more about permissions later in these FAQs.
Edit: This will take you to the Panopto video editor. This is the next topic in these FAQs.
View: takes you to the Panopto view to preview your recording.
2. Recording with Zoom
You can automatically upload your Zoom Cloud recordings to Panopto and link them to your courses.
Click here to learn how to use the Zoom to Panopto integration.
3. Editing a Video
Panopto videos can be edited using the Panopto web editor.
Open your video by going to emu.hosted.panopto.com and finding your video in the video library under the folder you uploaded your video to previously. Alternatively, you can access your videos by going to the Panopto recorder and clicking "Manage Recordings."
Click "edit." This will open the browser video editor where you can make edits to your video.
Click here to learn how to use the Panopto video editor.
4. Copying and Moving Videos
If you have a video you would like to share with more than one class, you will need to make a copy of the video an move it into the corresponding Panopto folders on emu.hosted.panopto.comClick here to learn how to manage videos in Panopto.
5. Table of Contents
Moodle allows you to create a contents page for your video. You can use this feature to mark new topics within a longer video allowing students who wish to review that topic to click directly to that sections. Another great feature is the ability to create in-video quizzes to test student knowledge.
Click here to learn how to add a Table of Contents to a Panopto video
6. Permissions
Panopto hosts the videos for us. Part of that hosting include handling permissions for the videos. This means unless you override these settings, videos in your course will not be view-able by students and teachers outside your class. You can change these permission on a per class basis.
The structure of permissions is similar to how Google Drive operates.
Note: permission settings are inherited from parent folders, so if you have an assignment folder for student assignments and change the parent "class" folder permissions, it will also affect the assignment folder.
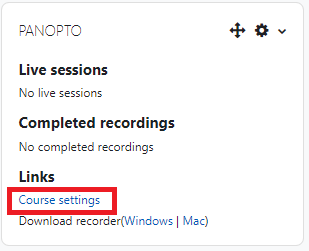
With that said their are times you may want to add someone to a folder. To get to the Panopto folder settings from your Moodle class, locate the Panopto block in the right column. Click on "Course Settings."
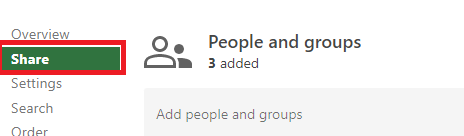
This will open your class's Panopto online video folder in a new window or tab, with the settings menu open. Click "Share" on the left-hand side.
You will see a list of participants, groups and classes that have permissions for this folder's videos. Below that you will see place to enter names to add to the permission list. Begin typing a name into the box. All EMU Students and Faculty will be searchable by first and last name.
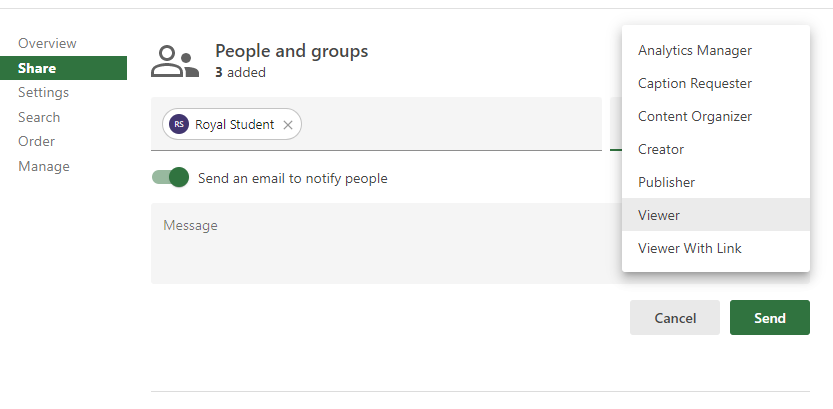 Click on the box that says "Viewer" to change the permission lever. The three possible levels are: Creator, Publisher, and Viewer. In most instances theViewer would be the only option needed. When you are ready click "Send" This will send the user a notification and save the setting in Panopto.
7. Embedding Videos
There will be times When you want to upload a video into Moodle that was not created using the Panopto recorder. Since Moodle has limited storage and does not have a way to handle viewing permissions other than the log-in, videos should be uploaded using the green Panopto button ![]() . There are a few things that you need to be aware of.
. There are a few things that you need to be aware of.
- The folder for the course you are uploading to must be chosen in the upload screen, otherwise, participants in the class will not have permission to view the video.
- If you are asking students to upload videos to a class, you must create a student assignment folder for them to upload videos to.

Click the "Upload" tab.

Verify the folder in the drop down window matches the course. This should default to the course you are uploading from. and not need to be changed, but it does get inadvertently changed. If it does just select the correct course from the drop down menu. It is good practice to verify the folder before uploading.
Drag and drop video into the box or click on the box to use file explorer to find your video. Depending on the size of the video, it may take several minutes for the video to upload. Once it does click "Insert."