User Management and Communication
- Student groups
- Student course registration
- Adding participants to courses
- Change the role of a participant
- Self enrollment
- Enroll students in a Meta-Course
- Communication
1. Student groups
To create student groups, navigate to the "Participants" tab in the secondary navigation bar.
From the dropdown select "Groups"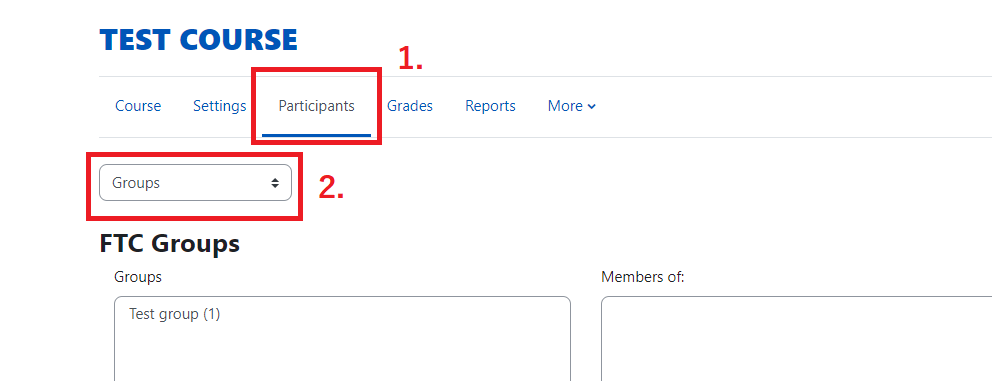
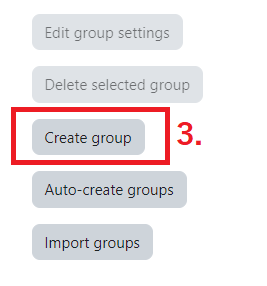
Click "Create group"
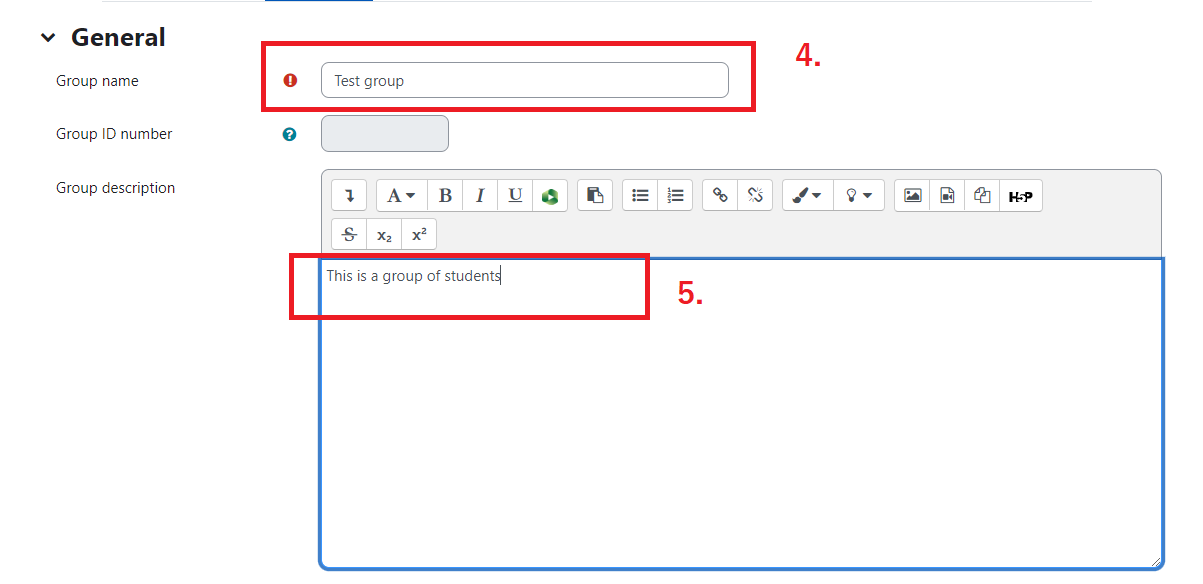
Give the group a name. You can also add a description but it is not required. When you are done click "Save Changes" at the bottom of the page.
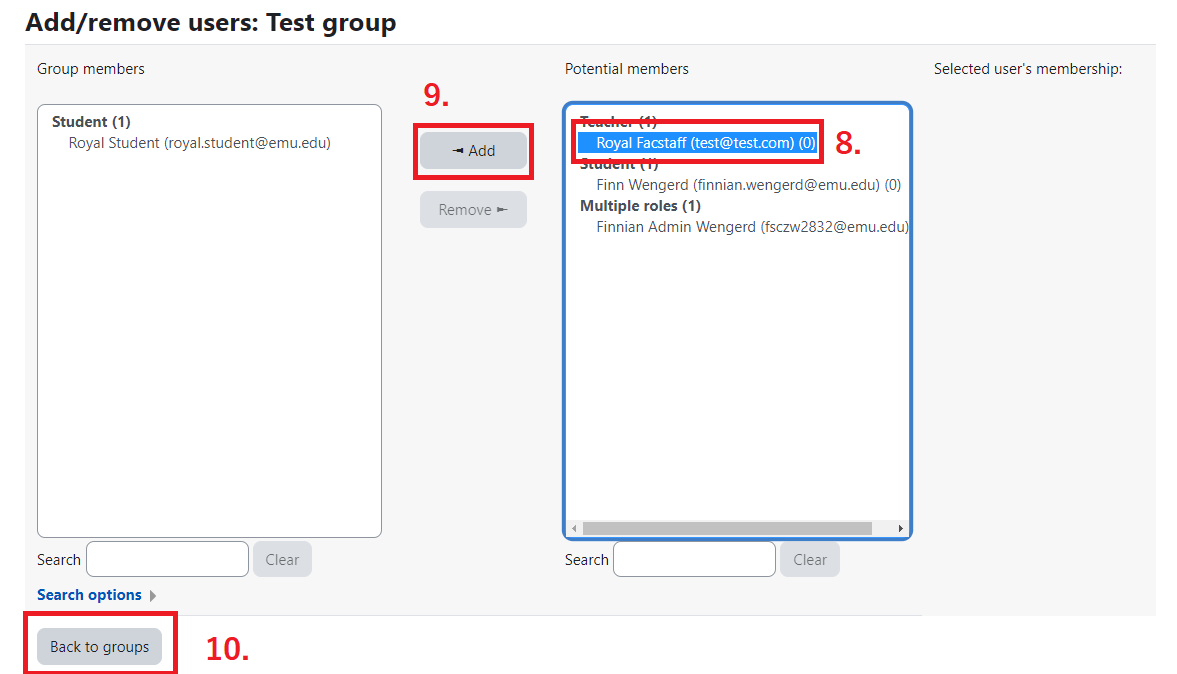
Once you have created the groups, you will be ready to add students to the groups. To do this select the group you want to work with in the left "Groups" box. The name of the group will appear above the right hand "Members of: xxxxxxx" box. The number in parenthesis is the number of current members. Click the "Add/Remove users" button
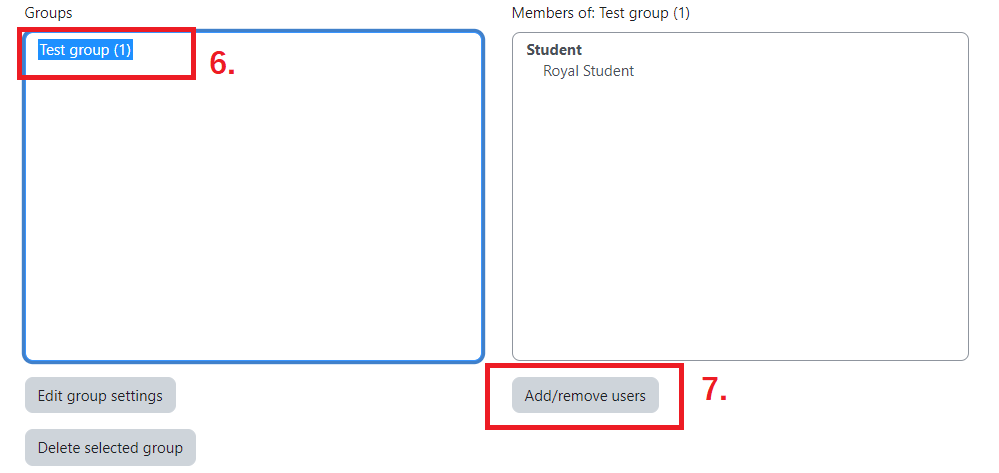
Select a name from the list of users and click "Add." If you make a mistake you can select them from the list on the left and click remove. Note: you will be able to keep track of who has been assigned to a group by the number in the parenthesis behind a users name. This number is the number of groups they have been assigned to.
When you are done, click "Back to groups."