2) Panopto -How to Enable MS Teams to record to Panopto for a teacher or student
1) Make sure you are logged into Moodle in your web browser
2) 2) Now Launch the “Teams” app on your computer
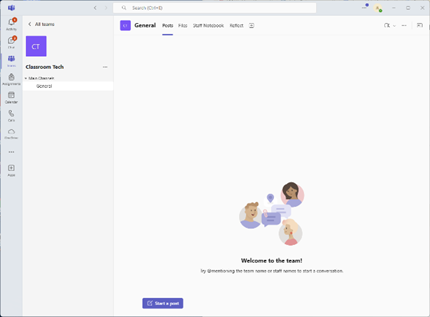
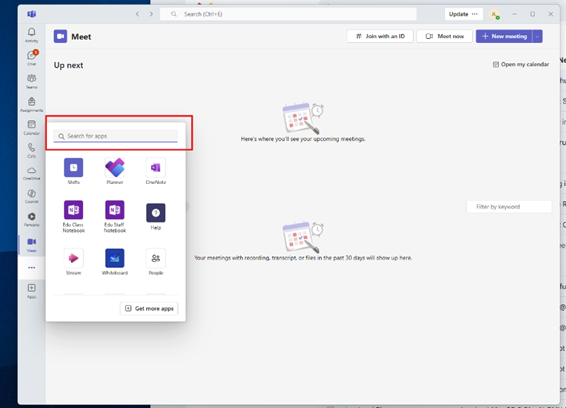
3) 3) Click on the 3 Dots at the Left Side Bar of Teams.

4) 4) Search for Panopto in the search bar.
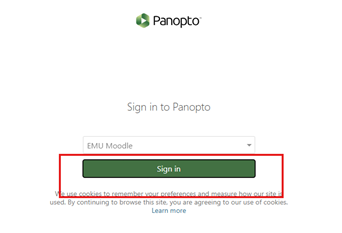
5) 5) Then login by clicking on the GREEN Sign in Bar. Then click on your blue EMU Account like you do with Moodle.
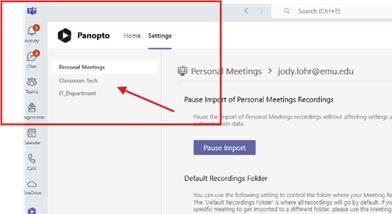
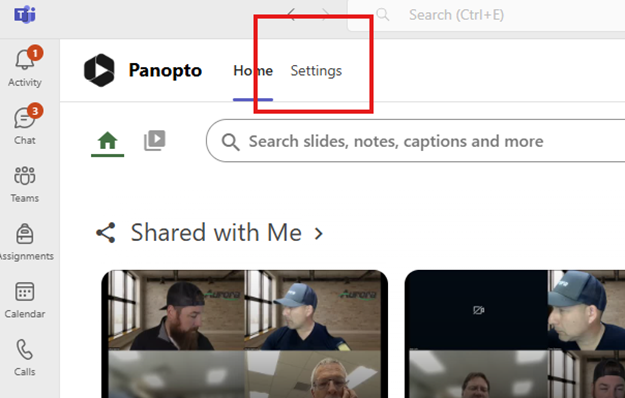
6) 6) Once you’re in here, there are a few things we need to setup of the first time. So, we will start by going into setting at the top menu bar where it shows “Panopto Home Settings”.
7) 7) You will want to Authenticate for each Team that you are responsible for recording (e.g. Personal Meetings, Your Dept., or other groups that you may be a part of.) This takes a few minutes after you click on the Authenticate Button.

You should see this when it is done authenticating.
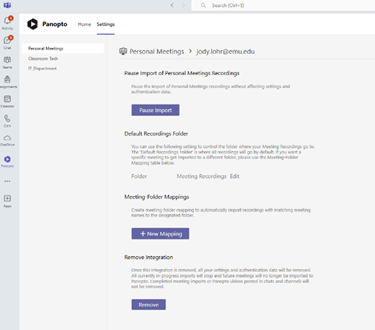
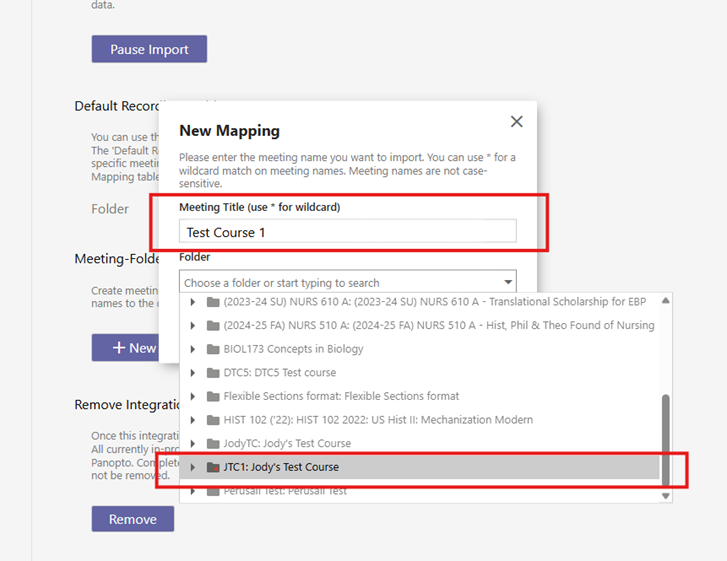
8) 8) Now we need to create the mapping for where Teams will save the recordings to Panopto. By default the meeting will be directed to your "My Meetings" folder in Panopto.
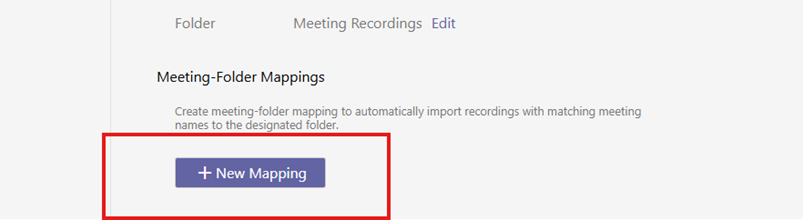
9) 9) In the New Mapping Screen, Enter in a Meeting Title that you want to save the video file as. Then in the Folder box, you will need to click on the drop down box and scroll down to the folder you want to save your file into such as my folder or your course Folder.
10 10) Now repeat steps 7 through 9 for each of the Teams that you will need to record video for.
Your groups will be in the upper left corner like this picture. You will need to click on each one and authenticate.